Revamp Your B2B Landing Page: 5 Things to Consider

Today, we’re going to talk about what might be the most important page on your website. No, it’s not your home page, or your contact page, or that snazzy blog post that got lots of clicks. It’s your landing page. 

Landing pages are the pages that leads land on right before they convert. This is the page that should sell your product or service best. If you don’t get your landing page right, your sales are going to be undercut. 

If your current landing page isn’t getting it done, then it’s time for a refresh! 

5 things to consider when revamping your B2B landing page

Below are some of the most critical things to keep in mind when revamping your B2B landing page for maximum effectiveness.

1. Have a clear value proposition

First things first, you need to have a clear value proposition. As soon as your lead starts scanning the page, they should be getting an idea of what your product can do for them. 

This is especially important when you’re offering an unfamiliar product or service. Everyone already knows the value of a cloud storage service, but not everyone will understand why they need NAS drives in their office at first glance. 

That said, familiarity doesn’t translate to a value proposition. If you’re selling in a popular market, then your value proposition is going to be what differentiates you. If everyone already knows what Slack, Zoom, Skype, and email are, then what unique selling point do you have to offer, and what’s the fastest way to showcase it on your landing page?

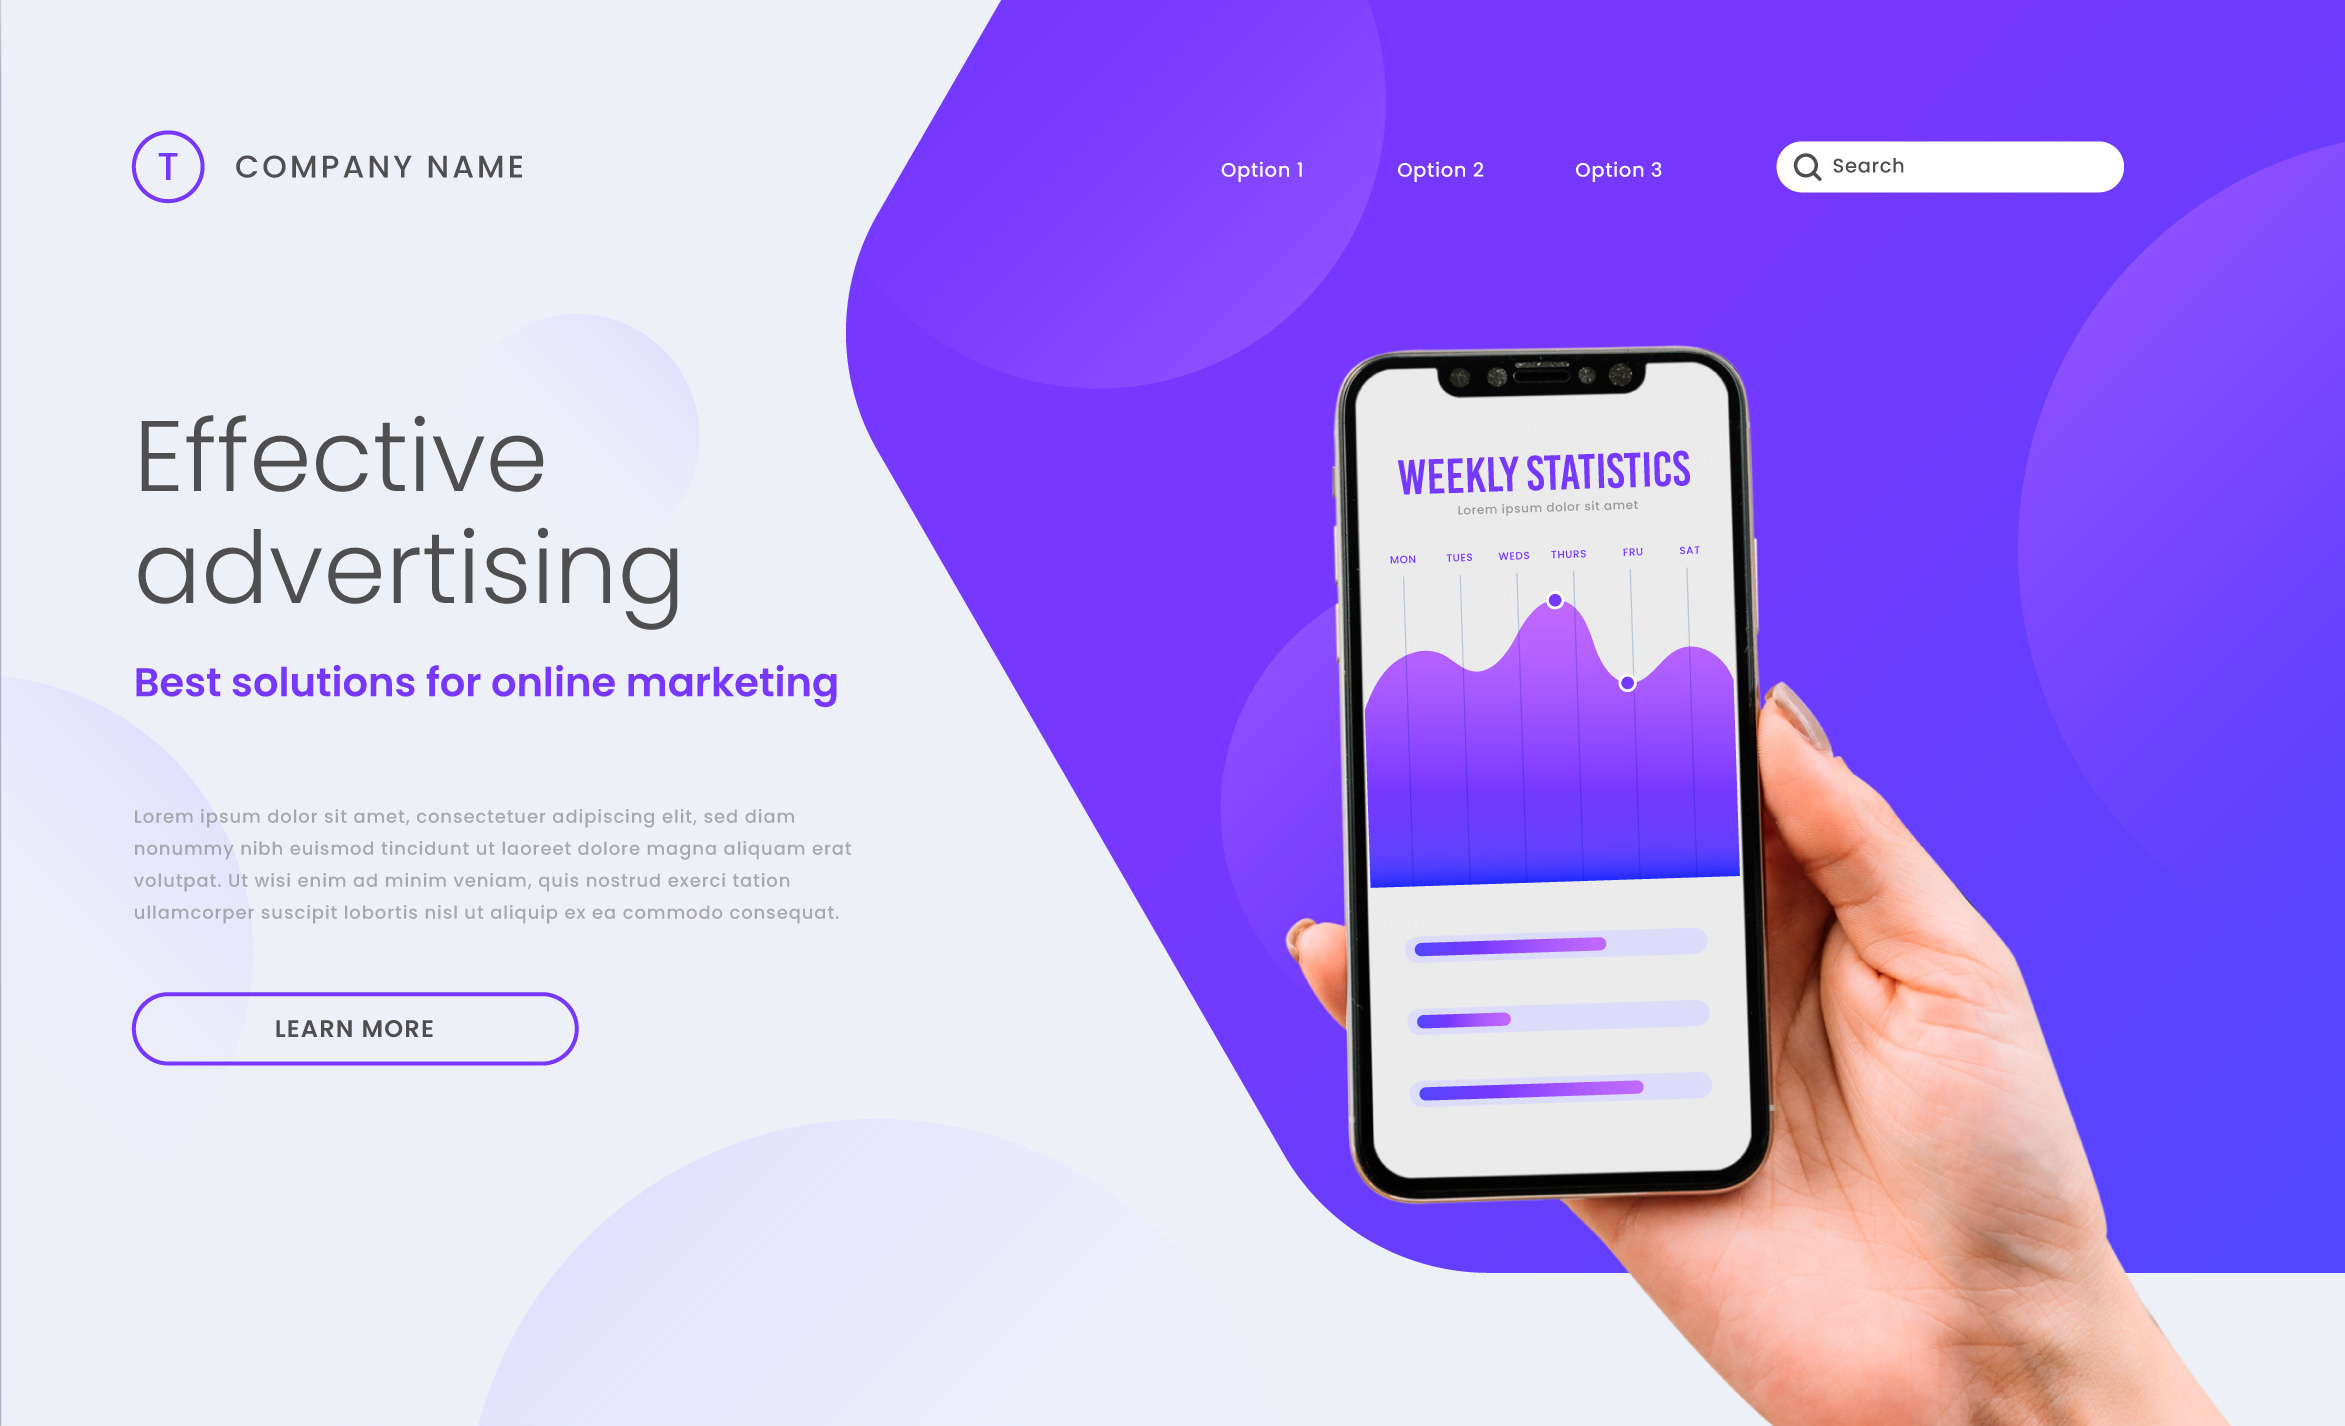
2. Make sure the journey from your marketing campaign to your landing page is cohesive

Next, you need to view your B2B landing page as your user’s end point in a marketing campaign journey. From the first time someone hears about your product to the moment they’re about to make a purchase, they are on a journey with your brand. 

Visuals are a great way to tie this journey together. Using colors, images, logos, and keywords throughout your marketing campaign to your landing page will help solidify the landing page’s purpose for your leads. Conversely, changing up your visual narrative and tone on the landing page can dissociate the customer’s previous experiences from your landing page, breaking the customer journey at the last moment. Essentially, it’s crucial to stay cohesive with your language, messaging, visuals and call to action. 

3. Have an obvious CTA front and center, and reduce navigation elements

Another key component of a cohesive B2B landing page is a clear call to action (CTA). CTAs are proven methods of pushing engagement, despite how naggy they may seem on the surface. 

Not only do they work, but they help leads make their decision, too. If someone visits your landing page and either A) Doesn’t know what the page is for, or B) Can’t find the CTA, then they’re probably going to scroll around and then click away. 

Don’t let this happen to you! Whether your CTA is a “Buy Now!” button, a sign-up form, or a choice between payment plans, make sure it’s the first or second thing that your visitors see. 

4. Showcase your testimonials and partnerships on your landing page

For our last two tips, we’re going to tie everything together with actionable steps. The first of which is to establish trust quickly. 

In B2C, entry trust (i.e., before the customer becomes a repeat customer) comes from reviews and word of mouth. Consumers want to hear that a product is great from their peers before they hear you say it. 

B2B works much the same way, except that your customers’ peers are going to be other businesses. This means you’re going to want to rely on testimonials and partnerships rather than reviews. 

Having familiar logos on your landing page as well as kind words will quickly ingratiate you with your leads. If they recognize brands that you’ve partnered with or see their needs and issues reflected in your positive testimonials, they’ll trust your product before they’ve made it to the checkout page.

5. Create a video to engage with the visitor

Our second actionable tip is to place a video on your landing page. It might sound crazy, especially if you’ve never invested in video content before. But in the same way that blog content drives leads, video content drives sales. In fact, it often does it better. 

A landing page video should be a concise pitch of your product, about 2-3 minutes at the most. You should quickly explain what your product does, what problem it solves, how its features solve that problem, and if you have time, include a story from someone who has had success with your product. 

In case you haven’t put it together, that’s your entire landing page in one engaging pitch. Except for your CTA, which should be sitting right next to the video.

Boost your B2B landing page performance with FunnelEnvy

While the five revamping tips listed above are a great way to get started, it’s far from everything you need to craft an engaging B2B landing page. And if you don’t have a lot of experience in this area, it can be tough to know how to even implement the above suggestions. 

To supplement your experience, you can partner with FunnelEnvy. In case you couldn’t tell, we’re lead-generating experts, and we have a solid grasp on how to turn your landing page into a conversion machine. We offer services like Lead Gen Experiences, which will help you turn your traffic investment into a moneymaker, and Account Match, which will identify the most high-value accounts for your business and help you target them. 

Reach out to the FunnelEnvy team today and start growing your business like never before.

Website Analytics & Attribution in the Privacy Era

If you’re wondering how the new privacy landscape will affect your ability to track visitors and customers you’re not alone. In this conversation, we dig deep into the governmental, technology, and other considerations that marketers need to be aware of. Hopefully, we’ll clear up some confusion and misconceptions along the way!


By |2021-06-01T09:51:21-07:00May 27th, 2021|Uncategorized, Analytics, Testing, B2B|0 Comments

Real-Time Personalization with Marketo and FunnelEnvy

For many organizations, Marketo serves as the real-time customer database for marketing. Unfortunately, for most organizations today this rich intelligence living in Marketo is not being leveraged to drive personalized user experiences across your site which is one of the most valuable opportunities with this data.

The good news is that when it comes to personalizing with Marketo, you don’t have to be limited to just personalizing your emails and Marketo forms. You can actually use all that valuable customer centric Marketo data to drive your website personalization programs.

Why might you want to do this? Instead of showing everyone the same lead capture experience, you could show prospects who have already filled it out more product content. Or show existing customers opportunities to expand. Maybe even segment your experiences and customer journey by company size or industry.

With FunnelEnvy’s Marketo integration you can use your rich Marketo data in real-time to deliver personalized experiences across your site.

Setting up the Marketo Integration in FunnelEnvy

Within the FunnelEnvy user interface you can activate and configure the Marketo integration. FunnelEnvy fetches Smart Lists periodically from Marketo and automatically keeps these updated with Marketo. Configuring the integration also lets you setup offsite goals triggered by Marketo webhooks such as Marketing Qualified Leads (MQLs).

The Data Filtering interface lets you choose which fields to import, and exclude PII or other data based on your compliance policies.

Typically these four steps are done by the Marketing Ops team that manages the Marketo instance:

  1. Activate the Marketo data source.
  2. Authorize FunnelEnvy to access Marketo
  3. (Optional) Configuring Data Filtering
  4. Selecting Smart Lists to Import

Step 1: Find and activate Marketo under the Integrations settings. You should see it as an activated Data Source.


Step 2: Authorize FunnelEnvy to access the Marketo REST API with API keys.

Step 3: Optionally configure data filtering rules. When fetching lists FunnelEnvy will only import lead attributes that are selected.

Step 4: Select Smart Lists for Import. Assuming your API credentials in Step 2 were correct, you should see a list of Smart Lists available for import. Note that it may take up to an hour for this list to reflect any recently added Smart Lists.

Once you’ve configured the Smart Lists for import you’re done! FunnelEnvy will refresh the lists every few hours, retrieving leads and refreshing the local copy of Marketo data, which is then available immediately for audiences, predictive campaigns and offline Marketo-triggered goals.

More details on setting up the integration can be found in our knowledge base article.

Using Marketo for Site Personalization in FunnelEnvy 

Once you’ve configured the Marketo Data source you open up a number of valuable personalization use cases. Below are three ways you can use FunnelEnvy and Marketo together to better target, personalize, and measure your personalization initiatives.

Target Experiences and Offers using Lead Attributes and  Smart Lists

Stop serving a static one size fits all website experience to all your visitors. Want to personalize your site experience only for prospects, or to specific accounts, or members of specific campaigns? 

With FunnelEnvy you can create very rich audiences that can be built off Marketo data and that can also be used as part of more advanced audience segments that combine Marketo data with firmographics and/or real-time user behavior as well.

In the condition builder interface you have access to all of the Marketo lead fields that were imported, and can define logical conditions based on them.

These conditions can also be combined with other data sources. In the audience screenshot below we’re combining a Marketo condition with a user’s behavior (but this could also be Demandbase, Clearbit or any of the sources we support). 

And just like any of the FunnelEnvy audiences, these can be used for targeting within predictive campaigns or A/B Tests:

This flexibility allows you to setup a dynamic “always on” personalization strategy that targets the right user segments in real-time based on that visitor’s stage and their relationship with you.

Personalize Experiences at a 1:1 Level with Marketo Data

While targeting is a powerful first step in executing your personalization strategy, the more powerful opportunity is to use all that rich user data to predict the best experience to serve each visitor. 

Choosing in real-time which experience to serve each user based on their full user profile truly allows for 1:1 marketing. That is where the personalization magic really happens.

FunnelEnvy uses machine learning to predict which experience will likely convert best based on all the data we see for that user, including their Marketo data and based on the history of how similar users converted over time.

And unlike A/B tests where a specific experience is randomly assigned, or rules based personalization where you fix a specific experience to an audience, FunnelEnvy allows you to take advantage of all the data you have on that user and serve the experience mostly likely to convert for that user.

This allows you to avoid the manual analytics effort of trying to identify and capitalize on all the possible experience and segment combinations that perform best. As a marketer you can stay focused on the message and offer and allow the algorithms to optimize the segment/experience matches.

As the report below shows, we are scoring/weighing the effectiveness of every attribute we see for every user by experience.

Here, Marketo audience data along with all the other behavioral and firmographics data is used to predict the best possible outcome for each and every user and experience combination.

This allows us to use all the data to our advantage and serve the right experience that will most likely result in revenue. 

The best part is that there’s no additional setup required here. Once we have the Marketo data within our profiles we’ll use it as long as the decision mode on your campaign is set to “Predictive”.

Measure and Attribute Personalization Campaigns by Revenue (not Form Fills)

With personalization, one of the bigger challenges is being able to measure the program’s contribution to revenue and business outcomes. 

It can be done, but often requires integrating data sets or pulling reports from multiple systems and generating manual reports after the fact.

WIth FunnelEnvy, once you set up your important online, MQL, and any other revenue goals you then start tracking and attributing success to each personalized experience. Below is an example where we created a MQL goal based on a Marketo List and assigned a specific MQL value to it.

To setup this, ensure that the Marketo Data Source is activated and configured and create a new individual goal. Under “API Triggering” you’ll should see an option for Marketo. Once selected, this is the URL that your Marketo instance will hit via a webhook to trigger the goal conversion. More details on setting up these webhooks is available in our knowledge base article.

Once that’s done the Marketo goal will shows in real-time in our campaign reporting dashboards.

It now becomes much easier to tell the story of how specific tests or personalized experiences are driving down funnel goals like MQLs, SQLs, opportunities, and deals won in addition to top level goals like trial signups, demo requests, or engagement.

This makes it much easier to attribute the positive impact personalization has on the organization’s revenue outcomes. Now instead of talking about form completes you can talk the language of sales which is revenue.

Getting Started

As you can see, integrating Marketo into your personalization program is very straightforward and can unlock some very valuable use cases and capabilities. The best part with this approach is that there is no custom development or IT involvement to get this up and running. You can setup the integration and be live with your first campaign on the same day.

If you’re not yet using FunnelEnvy but are interested in personalizing your website to Marketo Leads and Contacts we’d love to hear from you! You can contact us here: https://www.funnelenvy.com/contact/

Optimizely-CLI: Faster test iteration for developers

Today I’m going to take you through a really brief walk through and introduction of Optimizely-CLI.

A little bit of background: we at FunnelEnvy write a lot of tests in Optimizely. We love it as a platform. But we’re also software developers and engineers, and so we like to write our tests directly in JavaScript code. It’s much faster for us, and we’re really looking for ways to be able to use a lot of the tools that we use for software development in order to write tests.

We found as we built out the CLI, which stands for Command Line Interface, that being able to do a lot of the test development and debugging locally on our own machines was actually much faster. Optimizely-CLI allows you to do that, and then when you’re ready to push it up to Optimizely, you use the Optimizely API to push your test up.

You certainly do have to do a lot of the final tweaking and edits and QA directly in Optimizely, but the largest component of tests, especially more complex tests, not just changing around a word or two or a color but tests that are significantly more involved, is writing the code and is developing it. So, hopefully, if you’re a developer writing Optimizely tests, this can have value for you.

So, let’s get into it. I’m going to skip past the installation of the optcli itself. It’s pretty straightforward. It is built on Node, so you’re going to have to have Node installed locally. It’s delivered as an NPM package, so you’re going to have do an NPM install of Optimizely-CLI. Documentation is on our page, so feel free to take a look.

Once you have installed Optimizely-CLI, what you’ll want to do is create a new directory for your project. You’ll see that this one here is empty. The first thing you’ll want to do is initialize your project. The optcli init command is the one you’ll want to use for that, and you need to specify your project ID. The easiest way to find that is to head over to Optimizely and your project and go to the project settings tab, where under snippet implementation you will see your project ID.

Now, if I look at it, optcli has created a project.json file. An empty project is, obviously, not very useful, so we want to create our first experiment. Let’s say we wanted to do a headline test on the FunnelEnvy home page. To do that, you’ll want to use the optcli experiment command which takes several arguments including the directory that you want to create the experiment in, the description of the experiment, that’s what’s going to show up in Optimizely in the dashboard and in several other places, as well as the default editor URL.

When you open it up in Optimizely, this is the page that will open. You’ll see that it has created the folder and in there is the experiment.json file that describes the experiment.

Next up, we’ll want to create a variation within that experiment. To do that, we’ll use the optcli variation command, which in a similar way takes the folder name of the experiment, the folder name of the variation, as well as the variation description.

Let’s take a closer look at the files that optcli created. As you’ll see, here’s the project. Underneath there, we’ve got the headline test experiment, and underneath there we’ve got a variation called headline test. By default, optcli will include a variation.js as part of the variation, a global.css, as well as a global.js. This corresponds to the objects within Optimizely, the variation JavaScript as well as the global CSS and the global JavaScript that take effect for all variations within the project. The JSON files, as I mentioned, in here contain metadata about the variation project and experiment.

So, let’s add a little bit of code to our variation. As I said, we’re doing some headline testing. We’re going to make some changes to this headline at the top of the FunnelEnvy home page. So, we can do that right in the variation.js on our local directory, much as you would in the Optimizely edit code window, and we can add in a bit of JavaScript right there, changing the H1 tag to “Welcome to FunnelEnvy.”

Next, we’re going to want to style that, and so we can add some CSS right in the global CSS. Keep in mind that, just as with Optimizely, the global CSS will take effect for every variation. So, let’s make the font bold. Save that.

Then, just say for illustrative purposes, put a function in the global JavaScript file. And in order to call this function, I’m actually going to go back to the variation.js and call it right from there.

So, now my initial code for the variation is set. I’ve got code in the variation JavaScript, styles in the global CSS, and a function in the global JavaScript. Once you’ve coded your variation, optcli will let you host that variation locally and preview, debug, edit, and finalize the code for the variation before you push it up to Optimizely. That lets you make sure everything is right, iterate quickly on the code, and then make the final adjustments once you’re in the Optimizely environment.

Let’s take a look at what that looks like. The way to start the local server is to use the optcli host command and specify the path to the variation. By default, optcli uses port 8080. You can change that using the command line argument. And, by default, it serves over HTTP. You can also specify minus S for SSL if you are testing on HTTPS pages. If you point your browser to the URL from the console output, you’ll see that Optimizely-CLI has some instructions as well as some status and URLs for you.

On the left hand side, there are some one time setup steps. You only need to do this once, the first time you do the local hosting and script injection with Optimizely-CLI. And on the right, you’ll see the currently served experiment and variation as well as URLs to be able to view the variation on the editor URL that you specified in the experiment.

The script injection does require either the Tampermonkey Chrome extension, if you’re on a Chrome browser, or the Greasemonkey Firefox add on. In this case, I’m on Chrome, and I have installed the Chrome extension already. So, I’ll skip ahead to step two.

Step two is installing the Optimizely-CLI user script. This is generated by optcli. It’s a relatively simple script that will inject the locally served variation and CSS, locally served JavaScript, into the page by dynamically creating elements. In this case, I’ve already installed it. I’m going to hit reinstall anyway and then come back to the tab that I was on.

Now, Tampermonkey is installed on my browser. The injection script is running. I can now actually view the variation that I created. If you take a closer look at that script, optcli uses the optcli activate parameter to determine whether or not to inject the script. So, you can actually run your variation script on any URL just by appending this parameter.

Let’s go ahead and click on the link and see the variation. You can see here that this was the function that was executed in the global JavaScript, and per the variation code, the headline has been changed and the font style has been bolded. Now if I want to go back and make a change, it’s very simple to do. If I wanted to change the text in my variation to “Welcome Fellow Optimizer”, I change that locally, save the file, go back to the browser, hit refresh, and the change is done. And let’s say I wanted to get rid of the alert. It never made a lot of sense anyway. I take that out, refresh the page again, and it’s gone.

This lets you iterate really rapidly because you are doing it locally and then can therefore move a lot faster and get your code right. Let’s say I am happy with my code for the variation now and I want to send it up to Optimizely. Go back to the command line. We can stop the local server and run the optcli push experiment. It’s important to remember that you need to have pushed the experiment before you can push any of the variations underneath it. To push a variation, you just push experiment and specify the directory of the experiment.

If you haven’t entered your Optimizely API token, you’ll need to do so now. You only need to do this once on a project. It will store this locally. I’m going to enter my token now.

So, the token’s been set, and it has created a remote experiment in Optimizely. So, let’s head back over to Optimizely. Looking at the dashboard, refreshing the page, and I can see the headline test has been created. Let me push up the variation now that I created. To do that, you use the optcli push variation command specifying the path to the variation which is obviously underneath the experiment locally. And I didn’t need to enter my token, because I’ve entered it once and you can see that the variation has been created.

One final note on both the push experiment and push variation command. You can run these multiple times. The first time for both it’ll create either an experiment or a variation. But, if you make some local changes and run it again, it will actually update the code for those variations.

That’s how you can keep your local code in sync with what’s in Optimizely. So, if I go take a look in Optimizely, you’ll see that the headline test one experiment has been created as well as the change headline variation. By default, Optimizely will create a variation number one. You can remove that if you choose.

I hope you enjoyed this brief introduction to Optimizely-CLI. There are several other features there that I haven’t mentioned, so certainly feel free to give it a spin. If you have any feedback, we’d love to hear it. Feel free to submit issues or, better yet, put requests on the GitHub page. Thank you.

By |2015-02-04T13:17:43-08:00February 12th, 2015|Testing|0 Comments

Facebook and OKCupid Experiments: Ethics, Conversion Testing, and UX Design

The headlines have recently been flooded with the news that Facebook and OKCupid have been conducting experiments on their users in an effort to collect data and improve the overall user experience.

Analysts and commentators from the public at large have raised the same concerns: is this ethical? Does running certain types of testing violate user trust, especially when the impact is carried off your website and into the “real world?” Where do companies draw the line?

While you shouldn’t let fears dominate your testing agenda, it’s helpful to have a clear idea of where your company stands on these issues and how that impacts what you disclose to customers and website visitors. Here’s a closer look at some of the ethics of testing and what these recent case studies can teach us.
(more…)

By |2014-08-16T15:30:04-07:00August 12th, 2014|Testing|5 Comments

The Top 20 A/B Testing Case Studies that Every Marketer Should Read

There are numerous ways in which testing, especially A/B testing or the more complex multivariate approach, can be used to help your business. From improving your copy to streamlining your design for the best possible user experience to removing friction from your checkout process, conversion rate optimization can help you improve the bottom line and reach your business growth and revenue goals.

One of the most common requests that I get is for case studies. Entrepreneurs and business owners are looking for examples of “how it’s been done.” These inside looks at testing can be helpful at every step of the process, from identifying what needs to be tested to creating hypotheses, from designing your tests to implementing the results in your business. Below is a selection of case studies from around the web that I’ve curated to help my readers and clients understand some specific aspects of the A/B testing process. What follows is a list of the tests, along with a quick description and what I think you can learn from them.

(more…)

By |2014-04-22T08:47:57-07:00April 21st, 2014|Testing|4 Comments

How to Find Profitable A/B Testing Ideas

Understanding the importance of A/B testing is one thing. But knowing what to test and how to pull it off is more complicated.

Some businesses jump into A/B testing without ever really knowing where to start. Their tests are basically random, and the insights they gain from them are often more trouble than they’re worth.

It’s easy to get frustrated with this. But you don’t have to. Follow the steps below to discover fertile A/B testing ideas and how to test them to boost your conversions.

(more…)

By |2014-04-21T14:53:58-07:00February 11th, 2014|Testing|0 Comments

Top 10 Copywriting A/B Tests to Boost Conversions

While it’s true that design plays a large and obvious role in conversion rate optimization, copywriting can deliver similarly huge lifts in conversions. Even the littlest copywriting tweak can drastically improve your conversion rate with far less time and effort than a design tweak.

The only way to take advantage of all this potential low-hanging fruit is to test. To that end, here are some of the top copywriting tweaks to make to improve conversions.

(more…)

By |2014-04-21T14:54:43-07:00January 30th, 2014|Testing|0 Comments

4 Steps for Testing Your Way to High Converting Headlines

The most valuable real estate on your blog posts, email marketing, and published articles are the first 5 to 10 words. Studies show that your headline is absolutely critical. According to CopyBlogger, 8 out of 10 people read headline copy while only 2 read on. What does this tell you? It means that you’ve got an excellent opportunity to capture readers – and that most content on the internet today is failing to effectively do so. In this age of content marketing, writers and marketers can’t afford to have their content go off the cliff. The good news is that you don’t have to be a professional copywriter to get great results with your headlines. Here’s a closer look at how testing can get you closer to high converting headlines.

(more…)

By |2014-04-21T14:55:09-07:00January 23rd, 2014|Testing|4 Comments

The Case for Testing: The Science of Conversion Rate Optimization

Harvard Business School professor Sunil Gupta and co-authors released a paper exploring “Do Display Ads Influence Search: Attribution and Influence in Online Advertising.” The questions driving the study were straightforward. First, do display ads make a difference in moving buyers along the sales funnel? Second, if yes, then how much of a difference do they make and for how long?

Most online marketing professionals read the above and immediately form an opinion. “Yes, of course,” you’re saying, based on years of personal experience in the industry. Or perhaps your response is “No, not in the case of industry X or Y,” based on a very specific anecdotal case you worked on.

But before we dive into the answer, and why it matters to conversion optimization testing, let’s explore a different question. What are the chances that your gut reaction answer is right – not just to this specific line of inquiry in online marketing, but how you make decisions about your business in general and in your understanding of how your customers make buying decisions?

(more…)

By |2014-04-21T14:56:27-07:00January 10th, 2014|Testing|6 Comments
Go to Top